You’re about to spend $5,000… $20,000… maybe $50,000 or more on a renovation. And the basis for most of your decisions? Imagination, tiny material swatches, and a few Pinterest screenshots.
It doesn’t have to be this way. In 2026, there are multiple methods to see what your renovation will look like before you spend a dollar. Some are free. Some cost a few bucks. Some cost a few thousand. Here’s the full spectrum, with honest advice on when each one makes sense.
Method 1: Mood Boards (Free)
The simplest starting point. Collect images, colors, textures, and materials that represent your vision and arrange them together.
How to do it:
- Pinterest boards: Create a board for each room. Pin images that capture the feel you want. After 20–30 pins, patterns will emerge — you’ll see which styles, colors, and materials keep showing up.
- Physical mood boards: Print images, tape material samples, paint chips, and fabric swatches to a poster board. This is especially useful for color decisions because you see real materials under your actual lighting.
Pros: Free, easy, great for discovering what you like. A good first step in any renovation.
Cons: Mood boards show generic inspiration, not your actual room. That beautiful Scandinavian kitchen on Pinterest has different proportions, different light, and different architectural features than yours. The gap between inspiration and reality can be significant.
Best for: Early-stage inspiration gathering. Use this to figure out what direction you want to go before exploring how it looks in your space.
Method 2: Room Planning Apps (Free–$50)
3D room planners let you build a digital version of your room and experiment with layouts, furniture, and materials.
Popular tools:
- Planner 5D: Drag-and-drop floor plan builder with 3D visualization. Free tier available, premium from $6.99/month.
- RoomSketcher: Professional-grade floor plans and 3D walkthroughs. Free basic plan, premium from $49/year.
- IKEA Home Planner: Free tool specifically for kitchen and storage planning with IKEA products.
Pros: Accurate floor plans, furniture placement testing, useful for space planning and layout decisions. You can measure precisely and test whether that sectional actually fits.
Cons: Requires significant manual input — you have to rebuild your room from scratch (measure walls, place windows, etc.). Results look like 3D renders, not photographs. The “uncanny valley” between a 3D render and real life can make it hard to judge how things will actually feel.
Best for: Layout and space planning decisions. Will the furniture fit? Does the flow work? These tools excel at answering spatial questions.
Method 3: Professional 3D Rendering ($500–$2,000)
For high-stakes renovations, professional 3D artists create photorealistic renders of your proposed design.
How it works: You provide room measurements, photos, and your design brief. A 3D artist builds a digital model of your room and renders photorealistic images showing the proposed changes. Some firms also offer 360° walkthroughs.
Cost: Typically $500–$2,000 per room, depending on complexity and the level of detail required. A simple material swap might be $500; a full room reconstruction with custom furniture could be $2,000+.
Turnaround: 1–2 weeks for initial renders, plus revision cycles.
Pros: The most photorealistic results available. Professional renders are nearly indistinguishable from actual photographs. You can specify exact materials, exact furniture models, exact lighting conditions.
Cons: Expensive, slow, and typically involves multiple rounds of feedback. Most practical for high-budget renovations where the rendering cost is a small fraction of the total project.
Best for: Major renovations with budgets over $50,000, where the cost of the rendering is justified by the stakes of getting it wrong.
Method 4: AI Room Visualization ($9–$30)
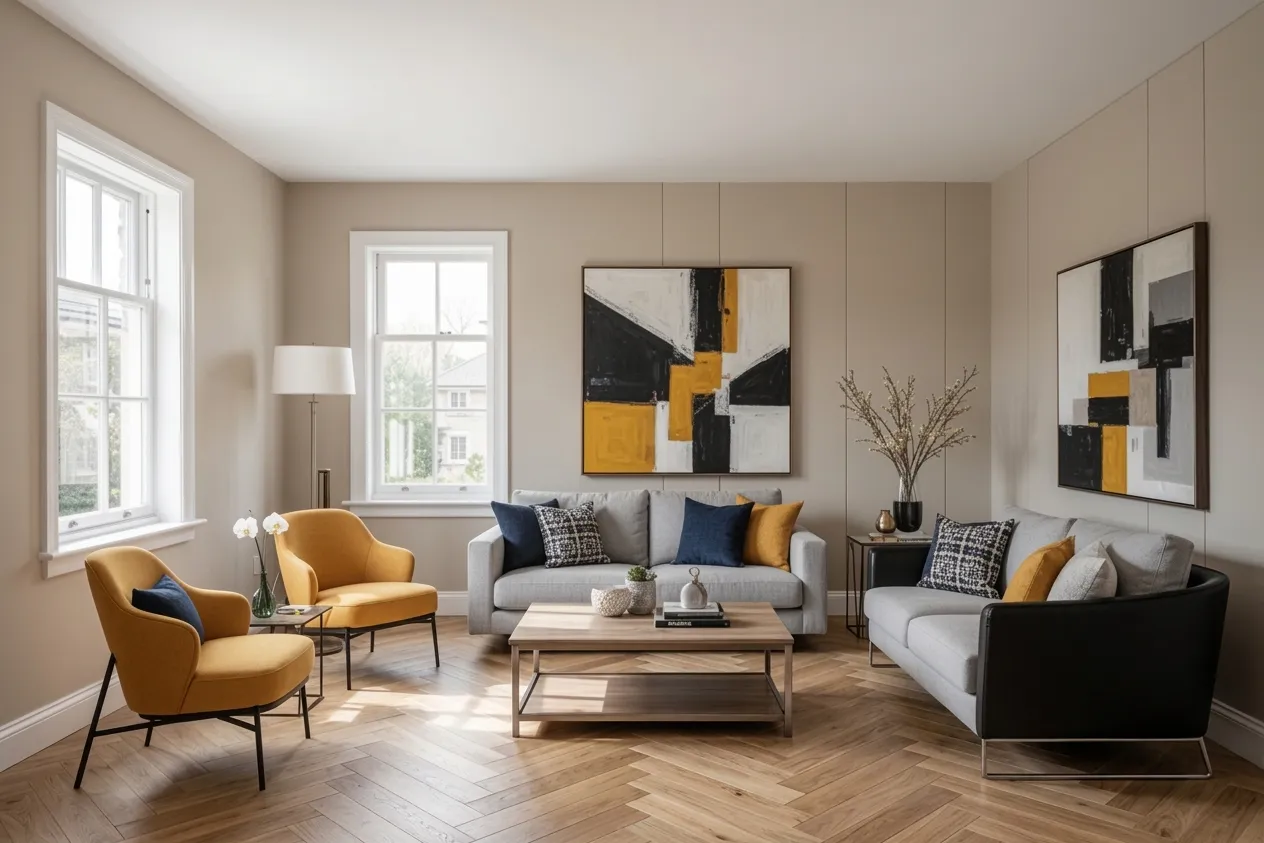
The newest and fastest approach. Upload a photo of your actual room, choose a style, and get a photorealistic transformation in seconds.
How it works:
- Take a clear, well-lit photo of your room
- Upload it to an AI visualization tool
- Select your target style (Modern, Scandinavian, Farmhouse, etc.)
- Wait 10–30 seconds
- See your actual room transformed in the chosen style
Pros: Fast (seconds, not weeks), affordable ($9–$30 for dozens of transformations), and the results show your actual room — not a generic render, not someone else’s space, but your room with your proportions and your light. You can try 10 different styles in 5 minutes.
Cons: Less control over specific details than professional rendering. You pick a style, not individual furniture pieces. The AI makes choices about what goes where — you can refine, but you can’t control every element. Not suitable for structural changes or precise material specifications.
Best for: Style decisions, color exploration, material comparisons, and communicating your vision to contractors or partners. The sweet spot between free mood boards and expensive professional renders.
Step-by-Step: Visualizing with AI
If you want to try AI visualization (and you should — the free trial is genuinely free), here’s how to get the best results:
Step 1: Take a good photo.
- Use natural light. Open curtains and blinds. No flash.
- Shoot straight-on from about chest height. Avoid extreme angles.
- Clear obvious clutter, but don’t stage it perfectly — a lived-in room is fine.
- Capture as much of the room as possible. Wide-angle lens on your phone works well.
Step 2: Upload and choose your style. Don’t just try the one style you think you want. Try at least 5 — you might discover a style you hadn’t considered that works perfectly in your space.
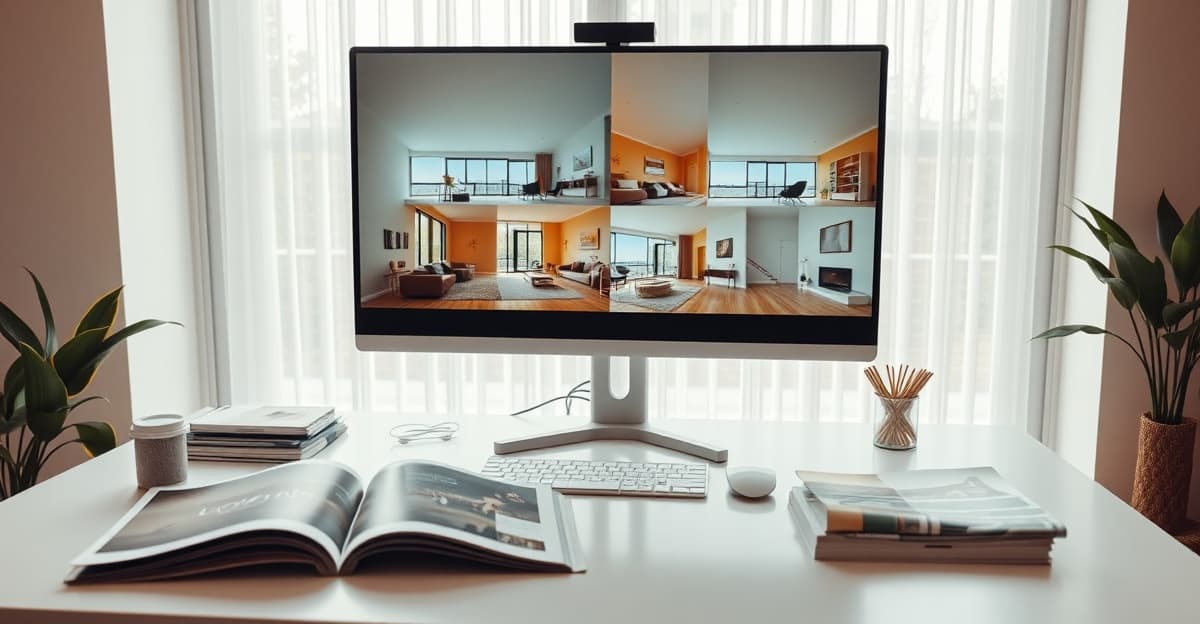
Step 3: Compare and refine. Put your 3–5 favorite results side by side. Show them to your partner, family, or friends. Ask which one they prefer and why. If a result is close but not perfect, many tools offer refinement options.
Step 4: Share with stakeholders. The AI-generated images become a powerful communication tool. Share them with contractors for quotes, with family members for alignment, or with a designer if you decide to hire one.
Step 5: Proceed with confidence. You’ve already seen the outcome. You know what you want, you have visual proof it works in your space, and everyone involved is working toward the same vision.
Tips for Better Visualization Results
- Try multiple tools. Each AI model has slightly different strengths. The free trials are genuinely free — test 2–3 tools with the same photo and see which output you prefer.
- Test in different lighting. Take photos at different times of day. Morning light and evening light change how colors look in your room — and in the AI’s output.
- Don’t stop at one room. If you’re renovating multiple spaces, run all of them through the same style. Check that the whole home feels cohesive, not just each room individually.
- Combine methods. Use a mood board for initial inspiration, AI tools for quick visualization, and professional rendering only if the stakes justify the cost. Each method excels at a different stage of the process.
- Save and organize. Take screenshots, save your favorites, and create a “renovation folder” on your phone. You’ll reference these images dozens of times throughout the project.
Which Method Is Right for You?
Match the visualization method to your project stage and budget:
| Stage | Best Method | Cost |
|---|---|---|
| Just starting to think about it | Mood boards (Pinterest) | Free |
| Exploring styles for your space | AI visualization | $9–$30 |
| Planning furniture layout | Room planning app | Free–$50 |
| High-budget final design | Professional 3D rendering | $500–$2,000 |
My practical recommendation: start with AI visualization. It’s the fastest way to go from “I want to change something” to “I know exactly what I want.” At $9, the cost-to-insight ratio is unbeatable. If your project warrants it, escalate to room planning apps for layout decisions and professional rendering for final validation.
But whatever you do — don’t skip the visualization step entirely. Committing thousands of dollars based on imagination and tiny paint swatches is the most expensive gamble in home improvement.